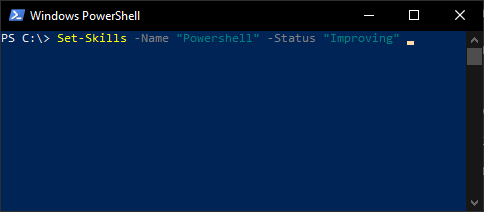
If you’re used to navigation in Windows with your cursor or using your fingers on a touch screen, then using a command line interface might be little awkward at first.
In this post we’ll take a look at how you can navigate this dark blue sea of Powershell.
For starters, you’ll probably need to type the same command again during the same session and it would be unnecessary to type all that twice.
Thankfully Powershell has a history of your latest commands and you access them by using the arrow keys (up & down).
Using that you can toggle through your command history and easily reuse them.

Next up is a way to clear the screen because sometimes it’s just to much clutter!
This is done with the Clear-Host cmdlet but you’ll probably use the alias ‘cls’.
It doesn’t remove anything you’ve done, it just removes all the text in the Powershell window.
If you’ve already played around a bit with Powershell you would’ve noticed that copying and pasting can be a bit wonky in the shell (depending on Powershell version, newer versions are more logical. ISE works better as well).
Currently I’m running Powershell 5.1.18362.145 ($PSVersionTable to check your version).
In this version of Powershell you can use CTRL+C and CTRL+V for copying and pasting which is excellent.
But this was not always possible.
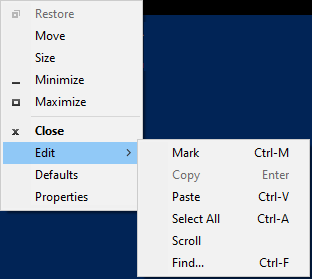
In earlier builds of Powershell you had to first right click in the console window and click ‘Edit’ > ‘mark’, similar to the image below.

And once you’ve marked what you want to copy, press enter.
In order to paste that line of code you found online, you had to right click, go to ‘Edit’ again and then press ‘Paste’.
Now something you could do was right click on the window frame and go to properties, like I did on the above picture.
Here you can enable something called ‘Quick edit mode’, now this was awesome.
With Quick edit mode enabled marking was as simple as clicking and dragging, just like you’d expect!
And while something is marked you’d only have to right click in order to copy it.
If nothing is marked then by right clicking you’d paste it instead.
In the properties window you can also change settings like font style and size, colors and size of your window.
It also includes settings for the buffer which is how many commands Powershell should save and much more.
As always, continue to learn and evolve your skills, see you in the next one!
Do you want to know more? Here is a list of tutorials to check next